The Comeback of Colorful Beads
Whether you are prepping for a festival or just love the nostalgia of beading, Kandi ideas are trending heavily on social media right now. What started as a rave culture tradition (PLUR) has exploded into a global crafting phenomenon.
Making Kandi is relaxing, creative, and the ultimate way to show affection to friends. But staring at a box of mixed beads can be overwhelming. If you are looking for Kandi inspiration beyond the basic rainbow stripe, you have come to the right place. Here are 10 creative patterns and styles to try this weekend.
Phase 1: The Essential Toolkit
Before diving into complex Kandi charm patterns, ensure you have quality supplies. Cheap string breaks, and nothing is sadder than beads scattering on the floor.
- The Beads: Standard 9mm Plastic Pony Beads are the classic choice.
- The String: Never use clear fishing line (it stretches out). Use fabric-covered Elastic Cord for durability.
- The Words: A bulk pack of Alphabet Letter Beads is essential for personalization.
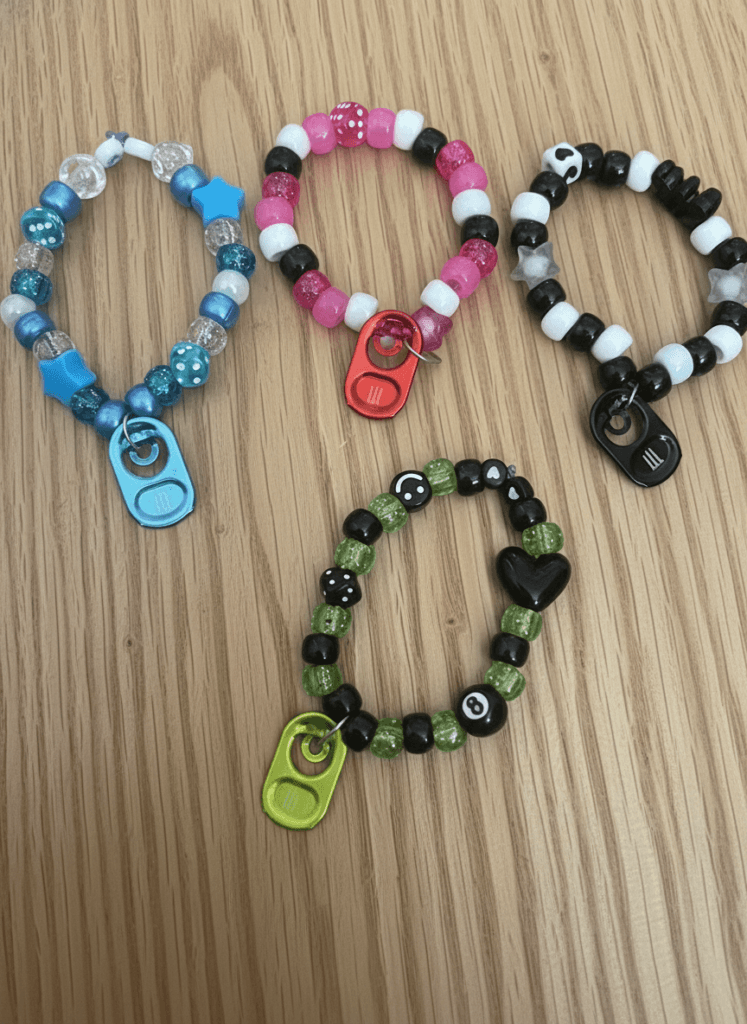
1. The “Lyrics” Single
This is the most popular beginner style.
- The Concept: Choose your favorite song lyrics, an inside joke, or a positive affirmation.
- The Design: Use black letters for high contrast against neon beads.
- Inspo: “GOOD VIBES,” “BASS HEAD,” or “STAY WILD.”
2. The “Character” Color Palette
Coordinate your beads to match a character.
- Mario: Red, Blue, and Gold (for coins).
- Hello Kitty: White, Pink, and Red.
- Buzz Lightyear: Purple, Green, and White.
- Tip: These make fantastic small Kandi ideas for trading because people instantly recognize the theme.
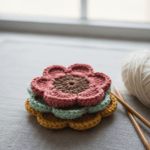
3. The 3D “Flower” Cuff
Ready to level up? The flower cuff is a 3D masterpiece.
- The Pattern: You weave beads in a circle to create “petals” that stick out from the base bracelet.
- The Look: Use pastel colors (Daisy theme) for a soft Kandi inspo look that fits the “Coquette” aesthetic trending in 2026.
4. The “Perler” Charm Necklace
Mix two crafts in one.
- The Make: Create a pixel-art character using Perler beads (iron beads).
- The Attach: Melt a hole in the top and attach it to your Kandi necklace with a jump ring.
- Result: A massive statement piece that stands out in a crowd.
5. The “Glow in the Dark” Stack
- The Material: Buy specific Glow in the Dark Pony Beads.
- The Pattern: Alternate 3 glow beads with 1 black bead.
- Effect: Under blacklight or at night, the bracelet looks like floating dashes of light.
6. The “Ladder Stitch” Cuff
Once you master the single strand, the ladder is the next step.
- The Pattern: It looks like a railroad track. It uses two strings simultaneously to stack beads on top of each other.
- The Look: Use contrasting colors for the “rails” and the “rungs” to make the pattern pop.
7. The Retro “Beaded Gecko”
Bring back the 90s!
- The Charm: Instead of a bracelet, weave a small lizard or gecko using the classic bead-weaving technique.
- The Use: Attach it to a Kandi necklace or use a keyring to hang it on your backpack. It’s the ultimate nostalgia piece.
8. The “Matching Bestie” Split Set
Perfect for Galentine’s Day.
- The Concept: Make two bracelets that complete a sentence when held together.
- Left Wrist: “BEST” (Pink beads).
- Right Wrist: “FRIENDS” (Purple beads).
- Add-on: Use magnetic clasps so the bracelets “click” together when you hold hands.
9. The “Spinner” Cuff (Fidget Jewelry)
A bracelet you can play with.
- The Base: Build a flat peyote stitch cuff (wide base).
- The Spinner: Add a looser layer of beads on top that can rotate freely around the base layer.
- Why we love it: It acts like a fidget spinner on your wrist. Great for anxiety or keeping hands busy at concerts.
10. The “Safety Pin” Punk Kandi
For an edgier look.
- The Material: Mix your pony beads with silver safety pins.
- The Build: Thread beads onto the safety pin first, then thread the elastic cord through the top and bottom holes of the pins.
- Style: It creates a metallic, industrial look that differs from the usual plastic aesthetic.
PRO TIP: The “Surgeon’s Knot”
The #1 failure in Kandi crafts is the knot untying.
- The Fix: Don’t just tie a granny knot. Use a “Surgeon’s Knot” (loop it through twice before pulling tight).
- The Glue: Add a tiny drop of Super Glue or clear nail polish to the knot before trimming the excess string. Hide the knot inside a bead.
FAQ: Kandi Crafting
Q: What size string is best for Kandi?
A: Ideally, 0.8mm or 1mm stretch cord. It is thick enough to be strong but thin enough to pass through a pony bead twice (which is needed for complex Kandi bracelets patterns like cuffs).
Q: How many beads do I need for a single bracelet?
A: An average adult wrist takes about 30 to 35 pony beads. Always measure your wrist loosely before cutting the string.
Q: How do I organize my beads?
A: A plastic organizer box with dividers is mandatory. Sort by color, not by finish (glitter vs matte). Seeing the colors separated will give you instant Kandi inspiration.