Jewelry Organizer Wall DIY
If your necklaces are in a tangled ball in a drawer, you are probably not wearing them. Jewelry is beautiful; why hide it? A jewelry organizer wall DIY turns your accessories into a piece of functional wall art.
It saves counter space, prevents tangles, and makes getting ready in the morning faster. Whether you love the Boho vibe or modern glam, here are 5 ways to display your bling.
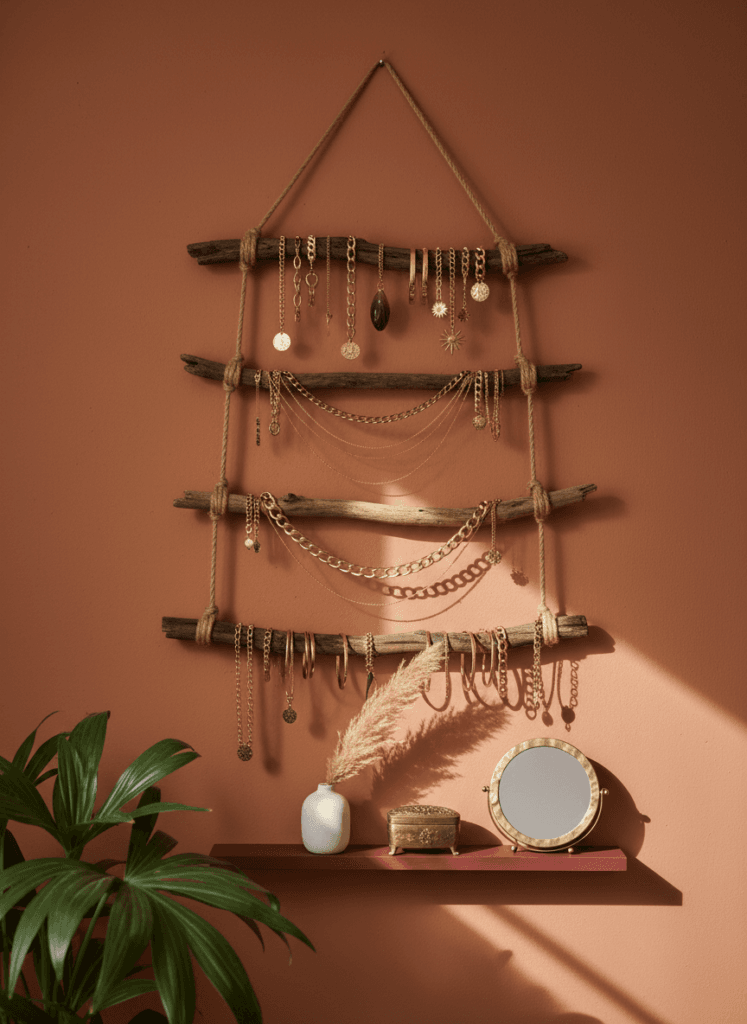
1. The “Driftwood” Boho Hanger
Best for: Necklaces.
Simple, organic, and free if you live near water.
- The Wood: Find a beautiful, smooth piece of driftwood or a sturdy branch.
- The Hardware: Screw small Cup Hooks into the bottom of the wood, spaced 1 inch apart.
- Hanging: Tie a piece of macramé cord or jute to both ends to hang the branch from a nail.
- Result: A stunning natural display that keeps long chains separated.
2. The “Printer’s Tray” Grid
Best for: Earrings and rings.
Vintage letterpress trays (Printer’s Trays) have tiny compartments perfect for small items.
- The Upgrade: Screw tiny eye-hooks into the top of each little compartment box.
- Usage: Hang earrings from the hooks and place rings on the tiny shelves.
- Style: Leave it raw wood for a rustic look or paint it white for a clean finish.
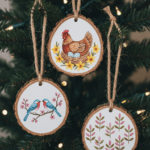
3. The “Chicken Wire” Frame
The farmhouse classic.
- The Frame: Use an old open picture frame (thrifted).
- The Mesh: Staple Chicken Wire Mesh or hardware cloth to the back of the frame.
- Function: The wire mesh is perfect for hooking dangle earrings anywhere you want. It holds hundreds of pairs.
4. The “Knob Rail” Rack
Best for: Statement chunky necklaces and scarves.
- The Board: Cut a piece of 1×4 lumber or use a piece of baseboard trim.
- The Knobs: Buy a variety of mismatched vintage Cabinet Knobs or crystal drawer pulls.
- Assembly: Drill holes and screw the knobs onto the board in a row.
- Decor: Paint the board to match your wall for a built-in look.
5. The Modern Pegboard
Best for: Large collections.
- The Board: Buy a standard pegboard sheet. Frame it with wood molding to make it look finished.
- The Accessories: Use standard metal pegboard hooks.
- Customization: You can paint the pegboard gold or black. It is the most flexible jewelry organizer wall DIY because you can move the hooks around as your collection grows.
PRO TIP: Preventing Tarnish
Displaying jewelry in the open air exposes it to oxygen, which causes silver to tarnish faster.
- The Fix: For your real silver pieces, keep them in the drawer. Use your jewelry organizer wall DIY for costume jewelry, gold, and beaded items.
- Location: Never hang jewelry in the bathroom. The humidity from the shower will destroy the metal plating. Keep it in the bedroom or closet.
FAQ: Hanging Jewelry
Q: How high should I hang my jewelry organizer?
A: Eye level! You want to be able to see your options while standing. Ensure the bottom of your longest necklace doesn’t drag on your dresser.
Q: How do I organize stud earrings on a wall?
A: The Mesh Frame (#3) is best. You just push the stud through the hole and put the back on. Alternatively, glue a strip of Felt Ribbon to a board and poke the studs into the fabric.
Q: Is this heavy?
A: Jewelry adds up. A fully loaded organizer can weigh 5-10 lbs. Always use Wall Anchors or screw your jewelry organizer wall DIY into a stud. Don’t rely on sticky tape.