The Design Trend of the Future
As we step into 2026, clutter is out and serenity is in. The biggest trend in interior design continues to be Japandi the harmonious hybrid of Japanese rustic minimalism and Scandinavian functionality.
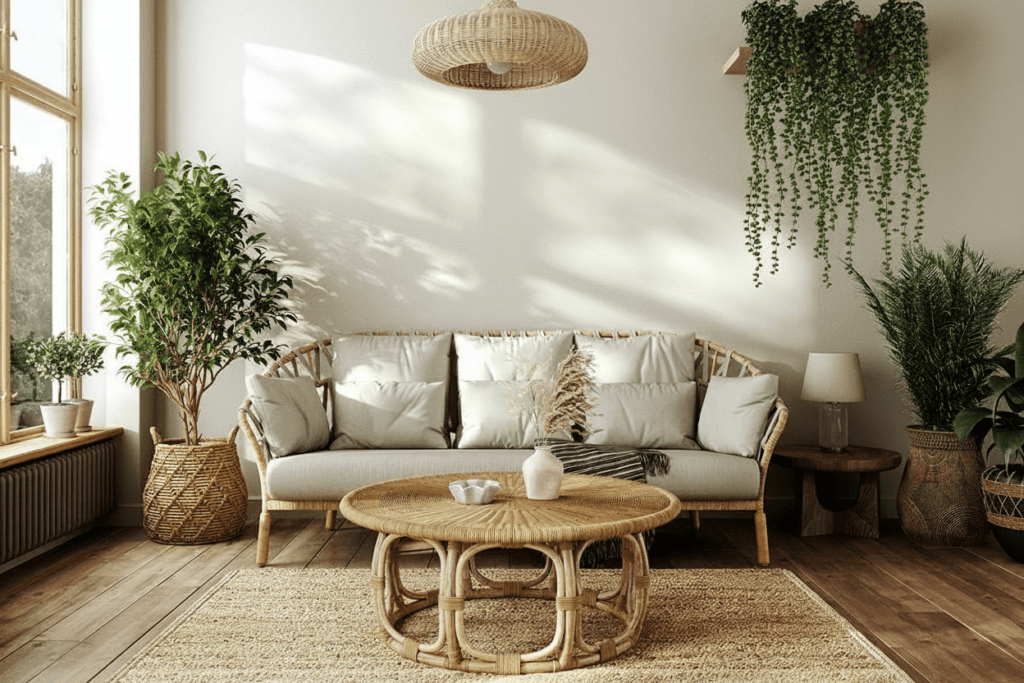
If you love the look of high-end, slat-wood furniture but hate the designer price tags, Japandi DIY furniture is the answer. It relies on simple materials like pine dowels, light wood, and low profiles. Here are 5 projects to bring Zen into your home this year.
1. The “Slat” Side Table
The signature Japandi look.
Nothing screams Japandi DIY furniture louder than vertical wood slats.
- The Core: Use a concrete forming tube (cardboard) or a large PVC pipe as the base cylinder.
- The Skin: Glue half-round molding or thin square dowels vertically around the tube.
- The Top: Glue a round pine board on top.
- Finish: Keep it natural. A clear matte sealant highlights the wood grain without darkening it too much.
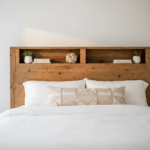
2. The Low-Profile Platform Bed
Grounding the bedroom.
In Japanese design, furniture stays close to the floor.
- The Build: Construct a simple, wide platform using high-quality plywood or solid maple.
- The Overhang: Make the platform 6 inches wider than your mattress on all sides. This creates a built-in “nightstand” ledge.
- Legs: Use short, chunky block legs or hide them completely for a “floating” effect.
3. The Shoji Screen Room Divider
Function meets art.
Create privacy without blocking light.
- The Frame: Build three tall rectangular frames using 1×2 pine strips. Hinge them together.
- The Insert: Instead of traditional rice paper (which tears), use Frosted Acrylic Sheets or heavy architectural vellum.
- The Grid: Add a grid of thin dowels over the “paper” to mimic the traditional Shoji style.
4. The Curved “Kidney” Coffee Table
Organic shapes for 2026.
Say goodbye to sharp corners. Japandi DIY furniture embraces curves.
- The Top: Cut a “bean” or organic oval shape out of plywood using a jigsaw.
- The Legs: Use three thick cylindrical legs (you can use heavy fence posts cut to size).
- The Texture: Sand the edges until they are perfectly rounded (bullnose). Apply a “whitewash” stain to remove any yellow tones from the wood.
5. The Minimalist Bench Entryway
Clean lines for the foyer.
- The Slab: Find a thick, live-edge slab or glue 2×10 boards together.
- The Legs: Use simple Wooden Tapered Legs angled slightly outward.
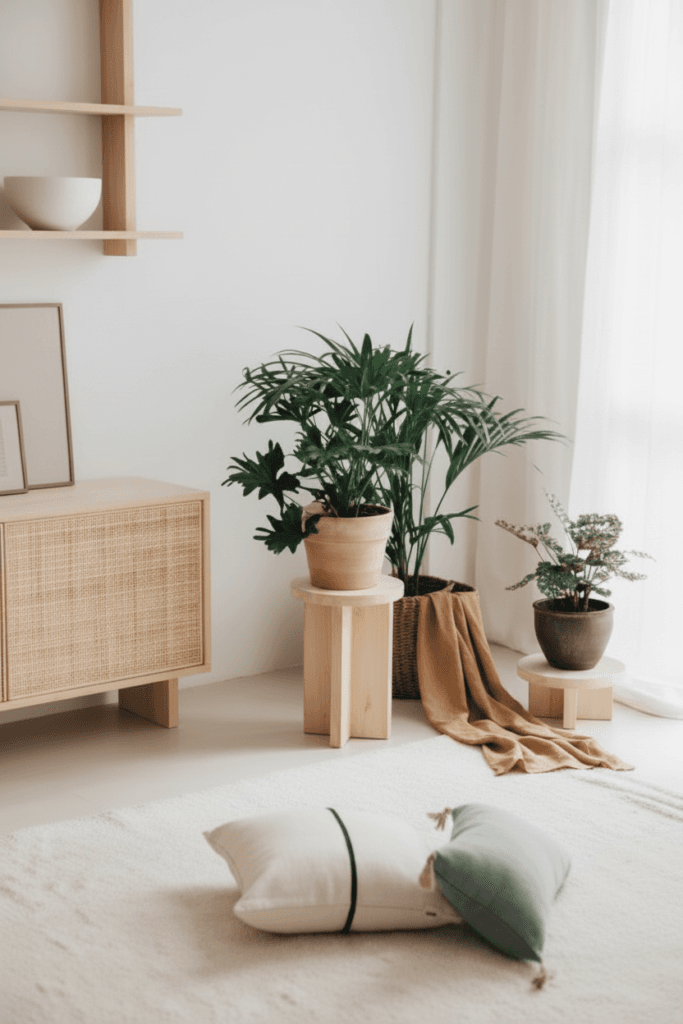
- Function: Keep the space under the bench open. In Japandi style, “negative space” is as important as the furniture itself.
PRO TIP: The Perfect Japandi Stain
The hardest part of Japandi DIY furniture is getting the color right. You want the wood to look raw, but protected.
- Avoid: Oil-based polyurethanes (they turn yellow/orange).
- Use: A water-based Matte Polycrylic Finish or a “White Stain” pre-conditioner to neutralize the yellowing of pine. The goal is a desaturated, pale “driftwood” or “birch” tone.
For more on the philosophy of this style, read this article on Wabi-Sabi, the Japanese art of finding beauty in imperfection.
FAQ: Japandi Style
Q: What is the best wood for Japandi DIY furniture?
A: White Oak, Ash, and Maple are ideal because they are light and have a subtle grain. If you are on a budget, Pine works, but you must stain it carefully to hide the yellow knots.
Q: Can I paint Japandi furniture?
A: Yes, but stick to earth tones. Charcoal Black (for contrast) or Warm Greige (Grey/Beige) are acceptable. However, natural wood should always be the dominant element.
Q: Is this style expensive to build?
A: Not necessarily. Because Japandi DIY furniture focuses on clean lines and minimalism, you use less material than traditional chunky farmhouse styles. The cost is mostly in the quality of the finish.


1 thought on “5 Japandi DIY Furniture Ideas 2026”