Curved Wood Furniture DIY
For the last decade, DIY furniture was all about boxes and straight lines. But in 2026, the curve is king. Soft edges, arches, and organic shapes are dominating interior design because they make a room feel calmer and more flowy.
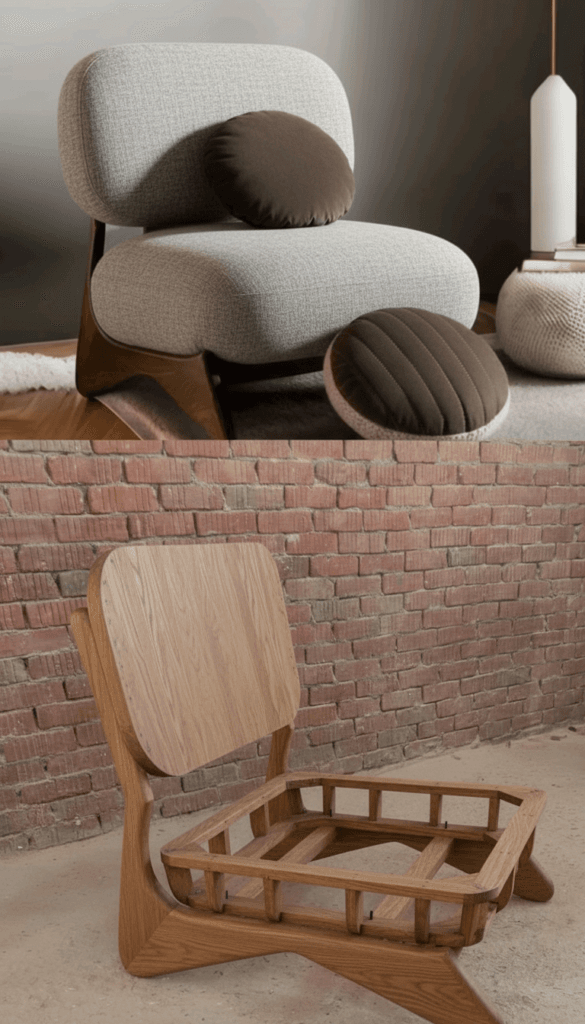
Building curves seems intimidating, but it is easier than you think. You don’t need a steam bender. With a jigsaw and some clever materials, you can master curved wood furniture DIY projects this weekend.
1. The “Waterfall” Plywood Console
The seamless arch look.
This looks like bent wood, but it’s a trick.
- The Material: Use Bendable Plywood (also called Wiggle Wood) or make “Kerf Cuts” (many shallow cuts on the back of a board) to make it flexible.
- The Form: Build an internal frame with the curve you want using scrap wood.
- The Wrap: Glue and nail the flexible plywood over the frame. Veneer the edge to hide the layers.
2. The “Pond” Coffee Table
Organic and blob-like.
The “Kidney” or “Pond” shape is everywhere in 2026.
- The Cut: Draw a free-form, amoeba shape on a sheet of birch plywood.
- The Tool: Use a Jigsaw with a fine-tooth blade to cut the curve cleanly.
- The Legs: Use three cylindrical legs. Chunky, round legs balance the thin top perfectly.
3. The Arched Bookshelf
The architectural update.
Turn a boring Billy bookcase into a custom arch.
- The Face Frame: Cut an arch shape out of 1/4 inch MDF or plywood.
- The Attach: Glue/nail this face frame onto the front of your existing square bookcase.
- The Paint: Paint the whole unit one color. It looks like a built-in plaster niche.
4. The “Fluted” Round Side Table
Texture + Curves.
This uses PVC pipe as a base!
- The Base: Use a large diameter construction tube or PVC pipe.
- The Texture: Glue half-round wooden dowels or Flexible Tambour Paneling around the tube.
- The Top: Glue a perfectly round wooden circle on top. The vertical lines emphasize the curve.
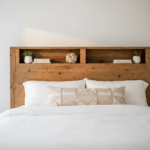
5. The Wavy Headboard
Fun and whimsical.
A straight headboard is boring. Go wavy.
- The Design: Draw a “squiggle” line across a piece of plywood.
- The Cut: Jigsaw the wave.
- Upholstery: Glue foam to the wood, then wrap it in velvet or boucle fabric. The curves catch the light beautifully.
PRO TIP: Cutting Perfect Circles
Free-handing a circle for your curved wood furniture DIY never works.
The Jig Hack:
- Drill a small hole in the center of your wood.
- Tie a string to a pencil. Pin the string to the center hole.
- Draw your circle like a compass.
- For the jigsaw, you can buy a Circle Cutting Guide that attaches to the saw for a flawless radius.
FAQ: Building Curves
Q: What is the easiest wood to bend?
A: Birch Plywood (thin sheets, 1/8 inch) creates curves easily without snapping. For solid wood, you need steam. For most DIYers, cutting a curve out of a flat sheet (like project #2) is easier than bending a board.
Q: How do I sand curved edges?
A: Don’t use a block sander (it creates flat spots). Use a Flexible Sanding Sponge. It contours to the curve of the wood, ensuring a smooth, round edge.
Q: Is curved furniture just a fad?
A: While “squiggles” might fade, arches and organic circles are timeless. They mimic nature. A well-built curved wood furniture DIY piece will look stylish for decades.