The “Work From Home” Upgrade
Is your neck hurting after a long day at the computer? You are not alone. Most desks are too low, forcing you to look down at your screen. A DIY monitor stand riser is the ergonomic solution you need to start 2026 pain-free.
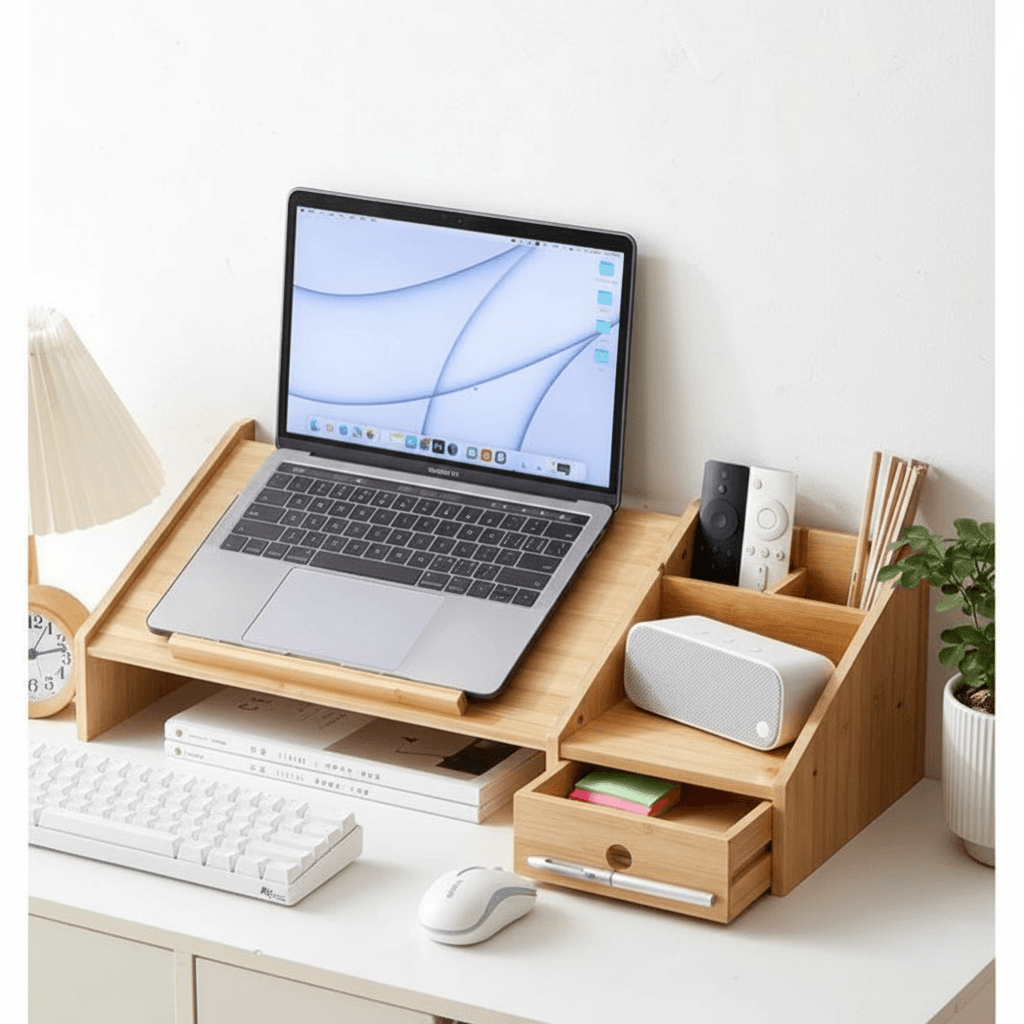
Not only does it raise your screen to eye level, but it also creates valuable storage space underneath for your keyboard and mouse. You don’t need to pay $50 for a plastic stand. With a single board of wood, you can build a stylish, custom riser in under an hour.
Phase 1: Materials and Tools
This is a beginner-friendly project that uses minimal materials.
- The Wood: A 1×8 or 1×10 board (Pine, Oak, or Walnut). Select a hardwood if you want a premium look without staining.
- The Glue: High-quality Titebond Wood Glue is essential for a seamless look (no screws needed).
- Clamps: You will need long bar clamps to hold the pieces while the glue dries.
Phase 2: Cutting the Pieces
To build a standard DIY monitor stand riser, you need three pieces:
- The Top: Cut one piece to 20-24 inches long (depending on how wide your keyboard is).
- The Legs: Cut two pieces to 4-5 inches long (this determines the height).
- Sanding: Sand all edges with 220-grit sandpaper to remove splinters.
Phase 3: The “Waterfall” Assembly
For a modern look, we recommend a simple butt joint or a miter joint if you are advanced.
- Glue: Apply a generous amount of wood glue to the edge of the “Leg” pieces.
- Clamp: Press the legs onto the ends of the “Top” piece to form a “U” shape. Clamp tightly. Wipe away squeeze-out immediately with a damp rag.
- Dry: Let it sit for at least 4 hours.
Phase 4: Finishing Touches
Once dry, your DIY monitor stand riser needs protection from coffee spills.
- Stain: If using pine, apply a Pre-Stain Conditioner followed by your chosen color (Dark Walnut is popular).
- Seal: Apply a coat of Water-Based Polyurethane. It dries fast and doesn’t smell, perfect for indoor projects.
- Feet: Stick small felt pads or rubber bumpers on the bottom to prevent the wood from scratching your desk.
🛠️ PRO TIP: Add Tech Features
Take your stand to the next level.
- Cable Management: Drill a 1-inch hole in the back center of the top board. This allows mouse and keyboard cables to pass through cleanly.
- Wireless Charging: Route a space underneath to hide a wireless charger, turning the wood surface itself into a charging pad!
For more ergonomic setup tips, check this guide from Mayo Clinic Office Ergonomics.
FAQ: Desk Organization
Q: How high should a DIY monitor stand riser be?
A: Ideally, the top of your monitor should be at or slightly below eye level. Measure the distance from your desk to your eye level, then subtract the height of the monitor (minus the stand). Usually, 4 to 6 inches is the sweet spot.
Q: Can I use plywood for this?
A: Yes! High-quality Baltic Birch plywood looks fantastic, especially if you leave the layered edges exposed for a modern industrial look.
Q: Is glue strong enough to hold a monitor?
A: Yes. A proper wood glue joint is actually stronger than the wood fibers themselves. For a DIY monitor stand riser, glue is perfectly safe. If you have a very heavy iMac, you can add reinforcement screws or pocket holes underneath for peace of mind.