The Satisfaction of “Perfect Fit”
There is nothing more frustrating than buying a plastic organizer tray only to find it is 1 inch too narrow, leaving a gap where junk accumulates. To truly organize a kitchen utensil drawer or a sock drawer, you need a custom solution.
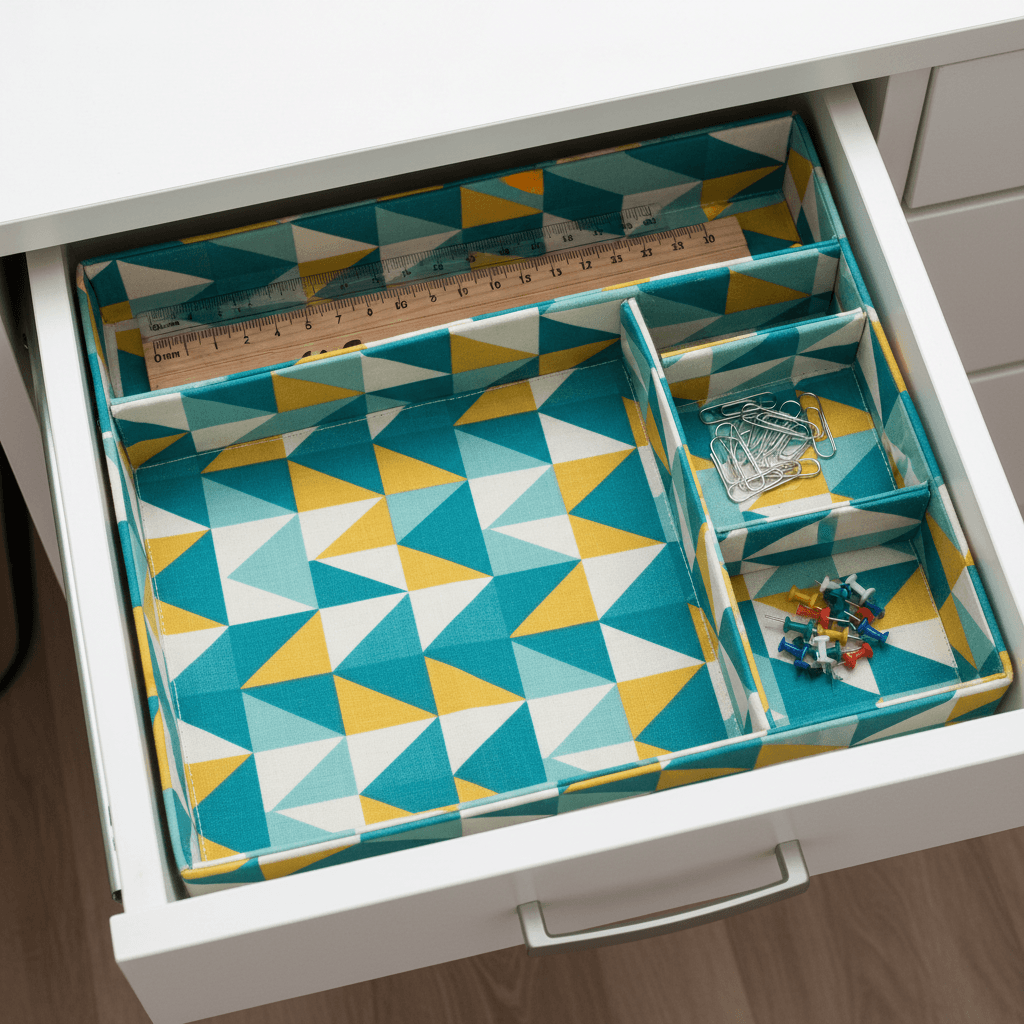
Making your own DIY drawer dividers allows you to dictate exactly how big each compartment should be. Whether you need a long slot for a rolling pin or a tiny square for corn cob holders, thin craft wood is the answer. Here is how to build a system that fits like a glove.
1. The “Tension Fit” Method (No Glue on Drawer)
Best for: Renters (Removable).
You don’t want to glue anything permanently to your nice cabinets.
- The Material: Buy strips of 1/4 inch Poplar Hobby Board. It cuts easily with a handsaw.
- The Cut: Measure the depth of your drawer. Cut your wood piece exactly 1/16th of an inch longer than the measurement.
- The Install: Because the wood is thin, it will bow slightly. Wedge it into the drawer. The tension keeps the DIY drawer dividers rigid without a single drop of glue or screw.
2. The “Comb Joint” Grid
Best for: Socks and Underwear.
Create a honeycomb-style grid.
- The Layout: Cut long strips for the length and width of the drawer.
- The Joinery: Cut slots (notches) halfway through each board where they intersect.
- Assembly: Slide the notches together (like a cardboard box grid).
- Result: A sturdy grid of DIY drawer dividers that can be lifted out entirely for cleaning.
3. The “Adjustable” Channel System
Best for: Growing collections.
If your needs change (e.g., a junk drawer), you need flexibility.
- The Build: Glue two rails along the side walls of the drawer interior.
- The Slots: Cut vertical grooves (dados) into the rails every 2 inches.
- The Dividers: Slide thin panels into the grooves wherever you need a separation. It works exactly like a professional camera bag divider system.
4. The “Diagonal” Spice Divider
Best for: Shallow drawers.
Spices are hard to read when standing up in a drawer.
- The Hack: Don’t build vertical walls. Build angled ramps.
- The Build: Glue small triangular wedges to the bottom of the drawer.
- Function: Rest the spice jars on the wedges so they lay at a 45-degree angle. The labels face up, and they don’t roll around.
PRO TIP: Lining Before Dividing
Once you install DIY drawer dividers, it is hard to clean the corners.
- The Prep: Before inserting your wood, line the bottom of the drawer with a Non-Slip Drawer Liner or cork sheet.
- Why? It stops your dividers from sliding around and prevents utensils from rattling when you open the drawer.
For more organization psychology, read this guide by Marie Kondo’s Consultants.
FAQ: Drawer Organization
Q: What is the best wood for DIY drawer dividers?
A: Poplar or Basswood (sold in craft sections). They are smooth, lightweight, and don’t splinter like pine. Use 1/4 inch thickness to save space.
Q: How do I cut thin wood without a power saw?
A: You don’t need a table saw. A simple Fine Tooth Japanese Hand Saw or even a sharp utility knife (score and snap) works perfectly for 1/4 inch hobby board used in DIY drawer dividers.
Q: Can I use cardboard?
A: Yes, for a free version! Wrap thick cardboard strips in contact paper or fabric to make them look polished and durable.