Create stunning epoxy resin table and embark on a DIY adventure! This guide will equip you with the skills and techniques to elevate your living space with custom epoxy resin furniture. Whether you’re a seasoned DIYer or just starting out, this article will walk you through the step-by-step process of making your own beautiful epoxy resin table.

Key Takeaways
- Discover the allure of epoxy resin tables and their unique visual appeal
- Understand the advantages of incorporating epoxy resin furniture into your home decor
- Learn about the essential materials and tools required for creating an epoxy resin table
- Explore the process of preparing, designing, and crafting your custom epoxy resin table
- Gain insights into the proper maintenance and care for your epoxy resin masterpiece
What is an Epoxy Resin Table?

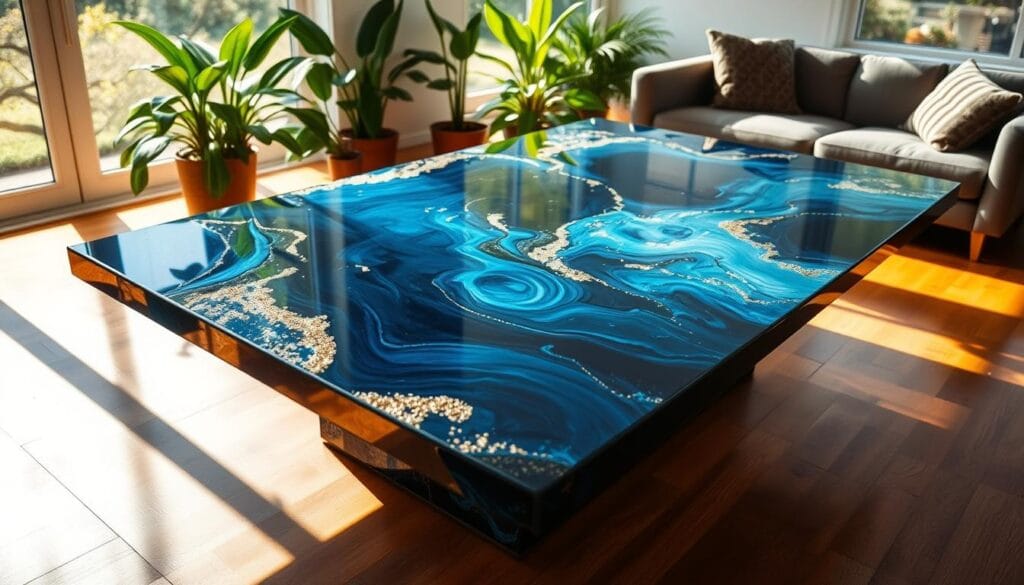
Epoxy resin tables are a unique type of furniture. They have a glass-like surface made by pouring epoxy resin over a wooden base. These tables are known for their beauty and modern look. They mix elegance with nature perfectly.
Understanding the Beauty of Resin Furniture
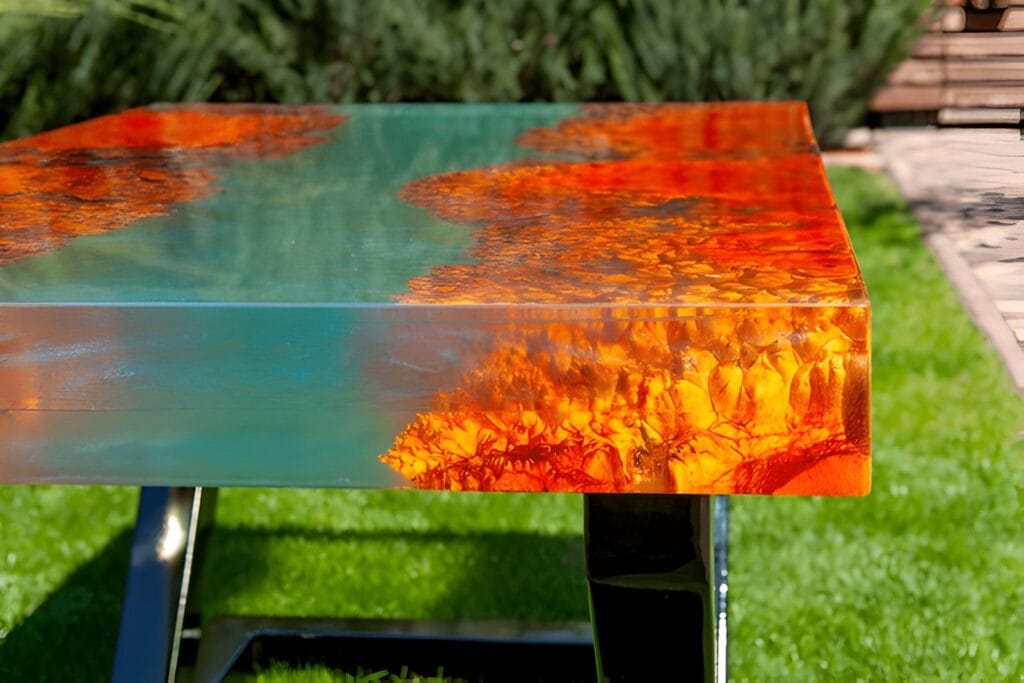
Resin furniture is loved for its ability to highlight the natural beauty of materials. It also gives them a strong, shiny finish. Epoxy resin lets the wood grain or decorations underneath shine, creating a beautiful mix of textures and colors.
Advantages of Epoxy Resin Tables
- Epoxy resin tables are very tough. They resist scratches, stains, and water well. This makes them a great choice for any home or office.
- They can be customized with many decorative items. You can add things like natural stones, wood slices, or metallic flakes. This lets you make resin home decor that shows your style.
- Looking after an epoxy resin table is easy. Just wipe it down with a damp cloth to keep it looking new.
Epoxy resin tables are perfect as a centerpiece in a living room or a work surface in a home office. They bring together beauty, strength, and usefulness. This makes any space look better.
Materials Needed for Epoxy Resin Table

Creating an eye-catching epoxy resin table needs careful material selection. You’ll need everything from the essential epoxy resin to a wooden base. Each part is crucial for your DIY resin crafts project. Let’s look at the main materials you’ll need to start.
First, get a quality epoxy resin made for DIY projects. This resin is the base of your resin crafts project. You can choose clear or colored resin based on the thickness and finish you want.
The wooden base is the heart of your diy resin projects. It can be a slab of wood, plywood, or another strong surface that holds the resin. Pick a wood type that fits your design, like oak, maple, or walnut.
- Epoxy resin
- Wooden base (slab, plywood, etc.)
- Sandpaper (varying grits)
- Mixing container
- Pouring tool (such as a silicone mold or a resin spreader)
- Optional: Wood stain, colorants, decorative inclusions (stones, glitter, etc.)
You’ll also need sandpaper to smooth the surface, a mixing container for blending the resin, and a pouring tool for even application. If you want a special look, consider wood stains, colorants, or decorations like stones or glitter.
With these materials ready, you’re set to make a beautiful epoxy resin table. It will show off your unique style and skill.
how to epoxy resin a table top

Making an epoxy resin table needs careful planning and design. First, get your workspace ready and think about what you want your table to look like. This step is key for a beautiful, unique epoxy resin table.
Choosing the Right Wood for Your Resin Table
The wood you pick for your resin wood table is important. Hardwoods like oak, maple, or walnut are good because they’re strong and look great. Or, you could use plywood for a smooth surface. Make sure your wood is sanded and sealed well for the resin.
Designing Your Epoxy Resin Table
After picking your wood, plan your table’s design. Think about the size and shape that fits your space best. Consider adding decorations like objects inside or unique colors. Sketch your ideas and try out different layouts to make sure your epoxy resin table will be a great addition to your home.
“The key to creating a beautiful epoxy resin table is in the preparation and design. Take the time to thoughtfully consider your materials and envision the final product.”
Step-by-Step Guide to Making an Epoxy Resin Table
Making your own epoxy resin table is a fun DIY project. It can change the look of any room. After getting your materials and design ready, it’s time to begin. Let’s go through the steps to make an epoxy resin table that will impress your guests.
Mixing and Pouring the Epoxy Resin
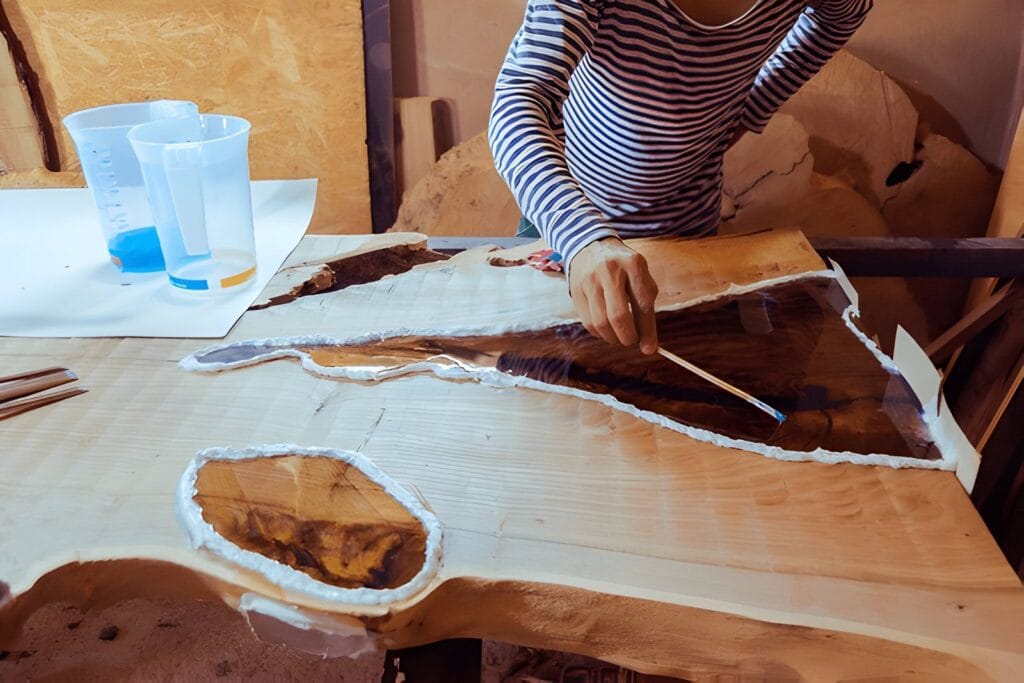
The success of a epoxy resin table depends on mixing and pouring the epoxy right. Always follow the maker’s instructions, as mixing ratios and curing times differ. Measure and mix the resin and hardener carefully, making sure it’s smooth and bubble-free. Then, pour the epoxy onto the wooden base slowly, letting it spread out evenly.
Finishing Touches and Curing Process
After pouring the epoxy, you might add things like wood slices or metallic flakes. Press these into the resin gently, making sure they’re fully covered. Then, add a final epoxy coating for a glossy finish. Let the epoxy river table cure as the instructions say, which can take days to a week.
“The true beauty of an epoxy resin table lies in the perfect balance of form and function.”
With patience and care, you can turn a simple wooden base into a beautiful epoxy resin table. This will be the highlight of your living area. By following these steps, you’re on your way to making furniture that mixes wood’s natural beauty with epoxy resin’s eye-catching look.
Maintenance and Care for Your Epoxy Resin Table
Getting an epoxy resin table can change the look and feel of any room. To keep your resin furniture and decor looking great, you need to take good care of it. Just follow a few easy steps to make sure your epoxy resin table looks amazing for many years.
First, cleaning your table regularly is crucial. Use a soft, damp cloth and mild, pH-neutral soap to clean it. Don’t use harsh chemicals or rough cleaners because they can harm the resin.
It’s also important to protect your table from things that could damage it. Don’t put hot items directly on the resin because they can warp or change color. Use coasters or trivets instead to keep the table safe.
- Clean the surface regularly with a soft, damp cloth and mild, pH-neutral soap
- Avoid using harsh chemicals or abrasive cleaners
- Protect the table from hot items by using coasters or trivets
- Keep the table away from direct sunlight to prevent fading or discoloration
- Address any scratches or dents promptly to maintain the table’s pristine appearance
Lastly, keep your epoxy resin table out of direct sunlight to stop fading or discoloration. If you see any scratches or dents, fix them right away to keep the table looking perfect.
By following these easy tips, your epoxy resin table will stay a beautiful part of your home for years. Take good care of it, and your resin furniture and decor will always look great.
Conclusion
Making an epoxy resin table is a fun DIY project that can change your home’s look. This guide has shown you how to make a beautiful, unique piece of furniture. It will be the highlight of your living space for many years.
Want to add elegance to your dining room or make a coffee table that catches the eye? Epoxy resin lets you be creative and make something special. You’ve learned how to pick the right wood and finish it off perfectly. Now, you have everything you need to make your dream table.
Starting your epoxy resin table project means getting ready for a fun journey. Try out different designs and feel proud of what you create. Your resin table will be both useful and a sign of your creativity and DIY skills. Enjoy making it, and let your epoxy resin table become a favorite in your home.
FAQ
What is an epoxy resin table?
An epoxy resin table is a custom furniture piece with a glass-like surface. It’s made by pouring epoxy resin over a wooden base. These tables are known for their beauty and unique designs.
What are the advantages of epoxy resin tables?
Epoxy resin tables are durable and water-resistant. They can have decorative elements like river stones or wood slices. You can also customize them to make a unique piece for your home.
What materials are needed to make an epoxy resin table?
You’ll need epoxy resin, a wooden base, sandpaper, a mixing container, and a pouring tool. For extra design flair, you might add wood stain, colorants, or stones.
How do I prepare and design my epoxy resin table?
First, prepare your workspace and design the table. Choose the right wood for the base and sand and seal it well. Think about the size, shape, and decorations you want.
What are the steps to make an epoxy resin table?
Start by mixing the epoxy resin as the instructions say. Then, pour it over the wooden base and let it cure. Add decorations like wood slices or flakes, and finish with a final epoxy layer for shine.
How do I maintain and care for my epoxy resin table?
Keep your epoxy resin table looking great by cleaning it with a soft cloth and mild soap. Don’t put hot items on it and protect it from scratches or damage.


4 thoughts on “Create Stunning Epoxy Resin Table: DIY Guide”