Start the Year Clutter-Free
“New Year, New Me” starts with your wardrobe. Opening a messy closet every morning sets a chaotic tone for the day. Custom closet systems can cost thousands of dollars, but building a DIY closet organizer costs a fraction of that and fits your space perfectly.
Whether you have a small reach-in closet or a walk-in, maximizing vertical space is the key. In this 2026 guide, we explore how to turn a single wire shelf into a boutique-style display using simple materials.
Phase 1: Demolition and Planning
Before you build your DIY closet organizer, you must clear the slate.
- Empty it out: Take everything out. Donate clothes you haven’t worn in 2025.
- Remove the wire: Take down that standard builder-grade wire shelf. Patch the holes with spackle.
- Measure: Measure the width, height, and depth. Sketch a layout that includes double-hanging rods (for shirts/pants) and a central tower (for shelves/shoes).
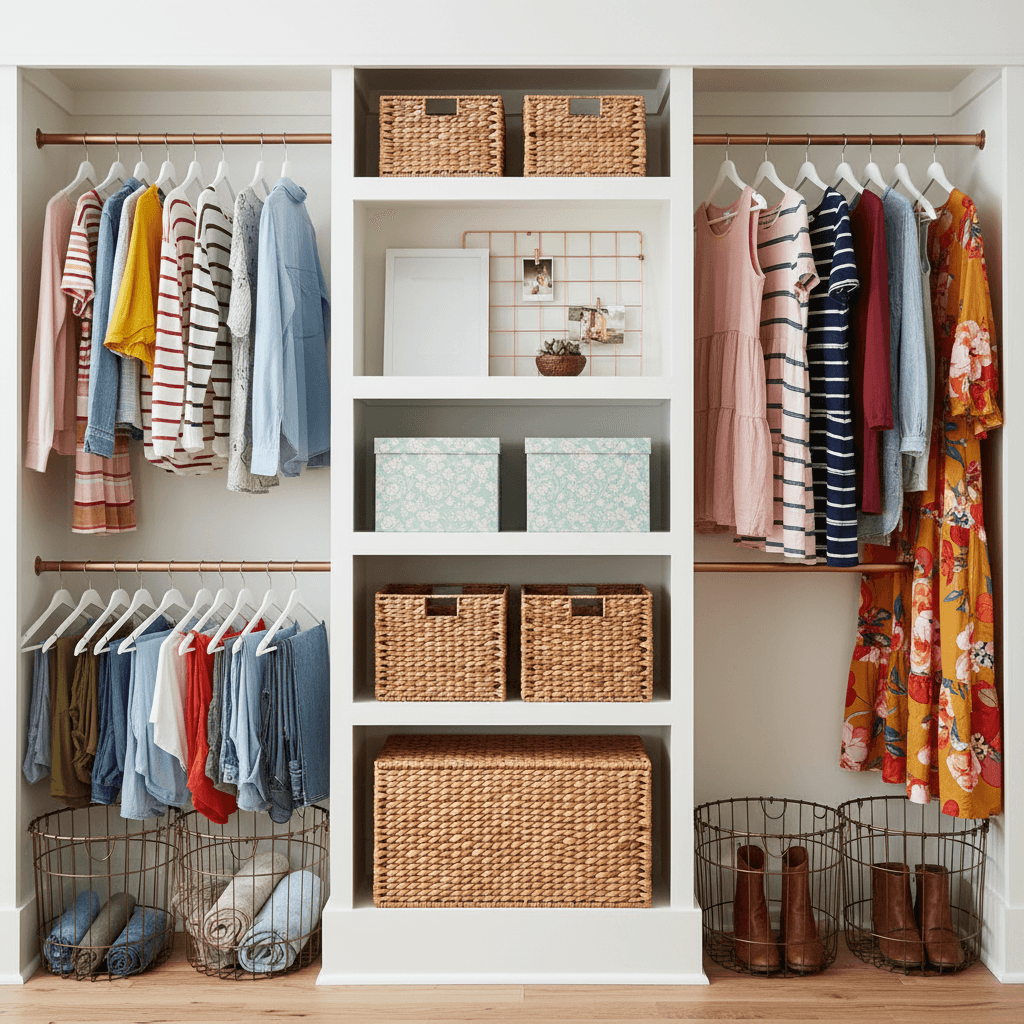
Phase 2: Building the Central Tower
The heart of any DIY closet organizer is the shelf tower.
- The Material: Use 3/4 inch Plywood or pre-finished white melamine boards (easier to clean).
- The Construction: Build a tall vertical box (approx 15-20 inches wide). Install shelves every 10-12 inches.
- Function: This tower holds folded sweaters, jeans, or accessories.
- Upgrade: Add fabric bins or Drawer Dividers to keep socks and underwear organized inside the tower.
Phase 3: Hanging Rods
To double your storage, you need two levels of hanging space.
- High Rod: Install one rod at 80 inches high (for long dresses or coats).
- Low Rod: Install another rod at 40 inches high (for shirts and folded pants).
- Hardware: Use sturdy metal Closet Rod Sockets screwed into the plywood tower on one side and the wall on the other.
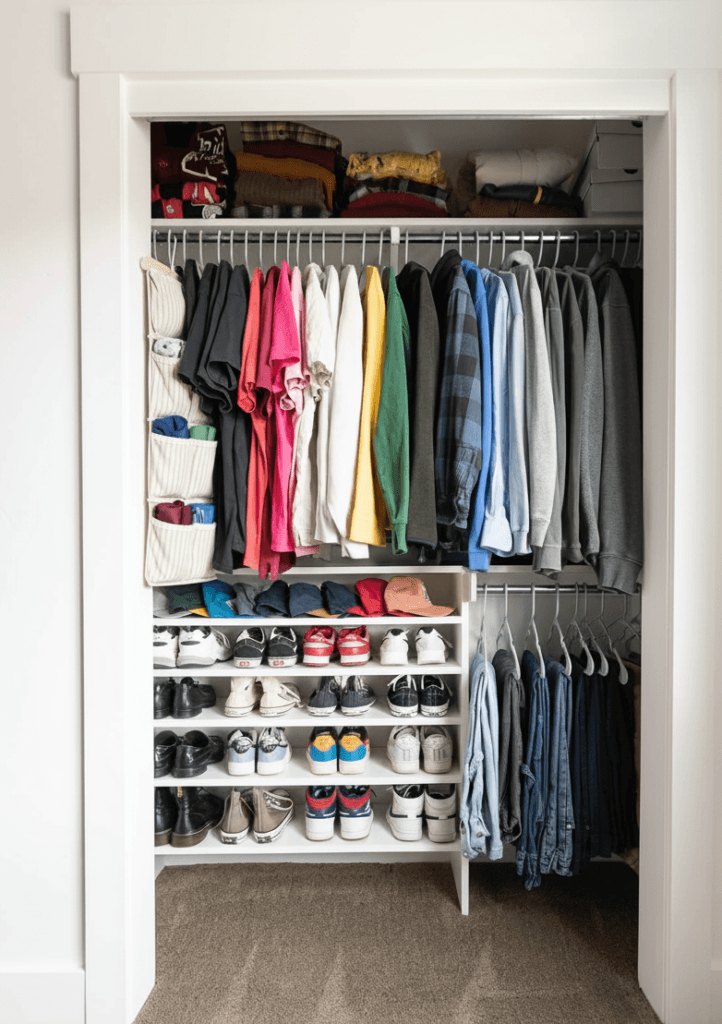
Phase 4: The Shoe Solution
Shoes are the biggest clutter culprit.
- The Fix: Don’t throw them on the floor. Install slanted shelves at the bottom of your DIY closet organizer.
- The Trim: Add a small piece of molding to the front edge of the shelf to stop the shoes from sliding off.
PRO TIP: The “Boutique” Look
How do you make a DIY project look expensive?
- Paint: Paint the entire closet (walls and shelves) bright white. It reflects light and looks clean.
- Matching Hangers: Throw away the mismatched plastic hangers. Switch to Velvet Non-Slip Hangers. This simple change saves space and makes your DIY closet organizer look professionally styled.
- Lighting: Add a peel-and-stick LED light above the hanging rods.
FAQ: Closet Design
Q: How deep should a DIY closet organizer be?
A: The standard depth for shelves is 14 to 16 inches. This is deep enough for folded t-shirts but not so deep that things get lost in the back.
Q: What is the cheapest wood for closet shelves?
A: MDF (Medium Density Fiberboard) is the most budget-friendly option for a painted DIY closet organizer. It is smooth and takes paint well. Just make sure to support it well so it doesn’t sag.
Q: How do I organize accessories?
A: Use the back of the door! Install hooks for belts, scarves, and bags. It utilizes “dead space” that doesn’t fit inside the main DIY closet organizer.


1 thought on “DIY Closet Organizer: 2026 Guide”