Your New Favorite Hobby
Looking for a creative outlet this Sunday? Epoxy resin jewelry for beginners is the perfect entry point into the world of crafting. Unlike woodworking, it requires no heavy tools, takes up very little space, and the results look professionally made.
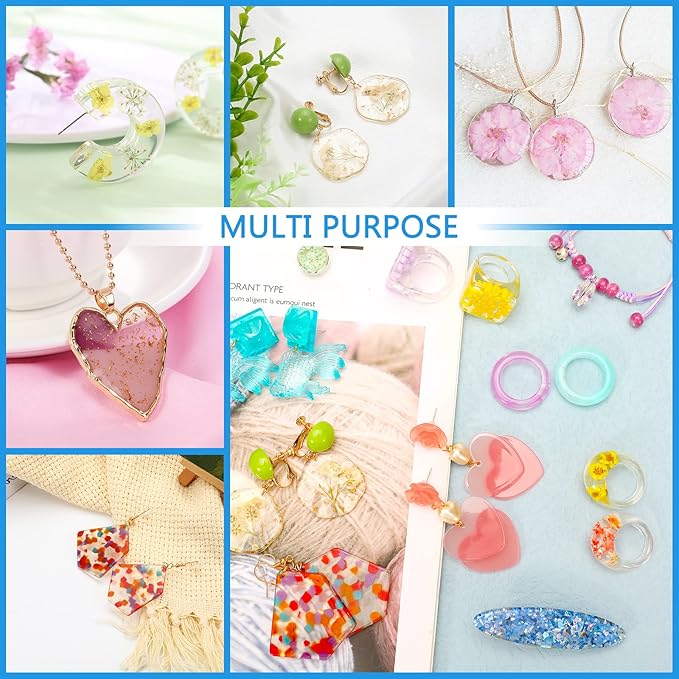
Whether you want to preserve dried flowers from a special occasion or create faux-crystal earrings, this guide covers the essentials. By the end of the afternoon, you could be wearing your own custom creation.
1. The Two Types of Resin (Choose Wisely)
Before starting epoxy resin jewelry for beginners, you must pick your medium.
- Standard Epoxy (A+B): Takes 24 hours to cure. Best for deep molds and bulk production.
- UV Resin: Cures in 2 minutes under UV light. Best for jewelry bezels and quick layers.
- Recommendation: For beginners, start with UV Resin . It is instant gratification and less messy.
2. Essential Tools Checklist
You don’t need a factory. You just need:
- Silicone Molds: Look for shiny molds (matte molds create cloudy resin).
- Bezels: These are metal frames with an open back.
- UV Lamp: If using UV resin, a small UV LED Lamp is mandatory to harden the liquid.
- Safety Gear: Nitrile gloves and a well-ventilated room (or a respirator mask).
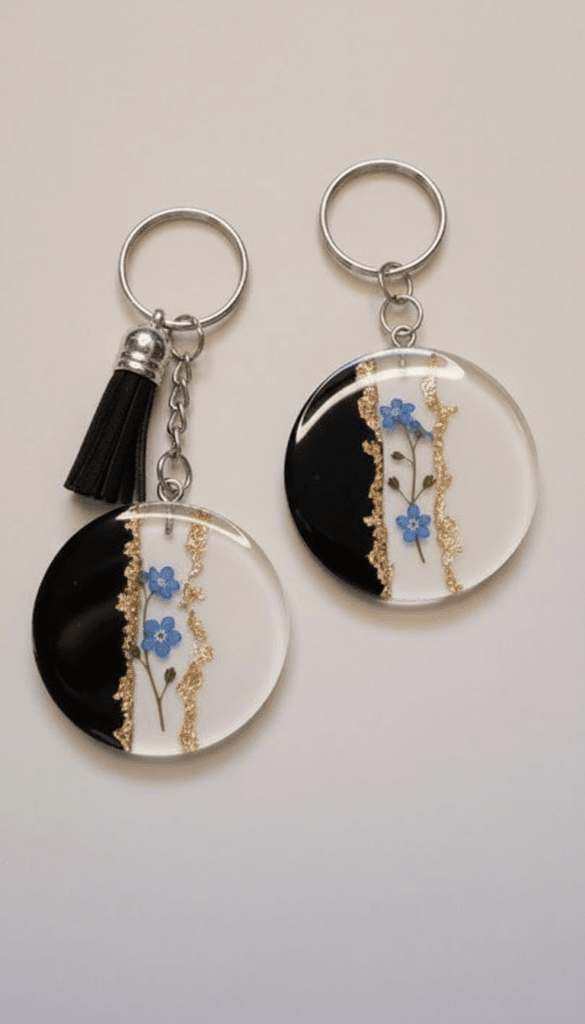
3. Project 1: The “Open Bezel” Pendant
The easiest start.
- Tape: Stick the metal bezel firmly onto a piece of wide packing tape. This creates a temporary bottom.
- Pour: Pour a thin layer of resin. Add a pressed flower or glitter.
- Cure: Shine the UV light for 60 seconds.
- Top Coat: Pour a final clear layer to create a dome effect. Cure again. Peel off the tape. Done!
4. Project 2: The “Dried Flower” Ring
Capturing nature.
- The Mold: Use a silicone ring mold.
- The Fill: Fill the mold halfway. Using tweezers, carefully place tiny dried heather or baby’s breath flowers inside.
- Bubbles: Use a lighter or heat gun to pop any bubbles trapped in the flowers.
- Finish: Fill to the brim and cure.
PRO TIP: The Bubble Battle
The #1 enemy of epoxy resin jewelry for beginners is micro-bubbles.
- Prevention: Warm your resin bottle in warm water before using. Thin resin releases air better.
- Removal: Pass a flame (lighter) quickly over the wet resin surface. The heat makes bubbles expand and pop instantly.
- Patience: If using A+B epoxy, let it sit for 5 minutes after mixing before pouring.
For safety guidelines, consult this resource from ArtResin Safety Guide.
FAQ: Resin Jewelry 101
Q: Why is my resin sticky after curing?
A: If using UV resin, you likely poured the layer too thick, and the light couldn’t penetrate to the bottom. Cure in thin layers (2-3mm). If using A+B epoxy resin jewelry for beginners kits, you likely messed up the mixing ratio. Measure exactly!
Q: Can I put fresh flowers in resin?
A: No! Fresh flowers contain water. They will rot inside the resin and turn brown. You must use Dried/Pressed Flowers only.
Q: How do I attach the metal hooks?
A: You can drill a tiny hole with a hand drill after curing, or insert a screw-eye pin into the resin while it is still wet (gel stage).


2 thoughts on “Epoxy Resin Jewelry for Beginners Guide”