
How to Make Stunning Ice Candle Holders for a Magical Winter Vibe
Winter is the perfect time to bring some cozy charm to your home, and nothing does that quite like a glowing ice candle holder. These beautiful, frosty creations are a simple way to add a magical, wintry touch to your décor, whether you’re hosting a dinner party or simply want to enjoy a quiet evening at home.
Also known as ice lanterns, these stunning pieces are incredibly easy to make and require only a few materials you likely already have. In this guide, we’ll walk you through everything you need to know, from choosing the right materials to making sure they last, so you can bring the beauty of winter into your living space.
What Makes Ice Candle Holders So Special?
Ice candle holders are more than just a craft ; they are temporary works of art that capture the essence of winter.
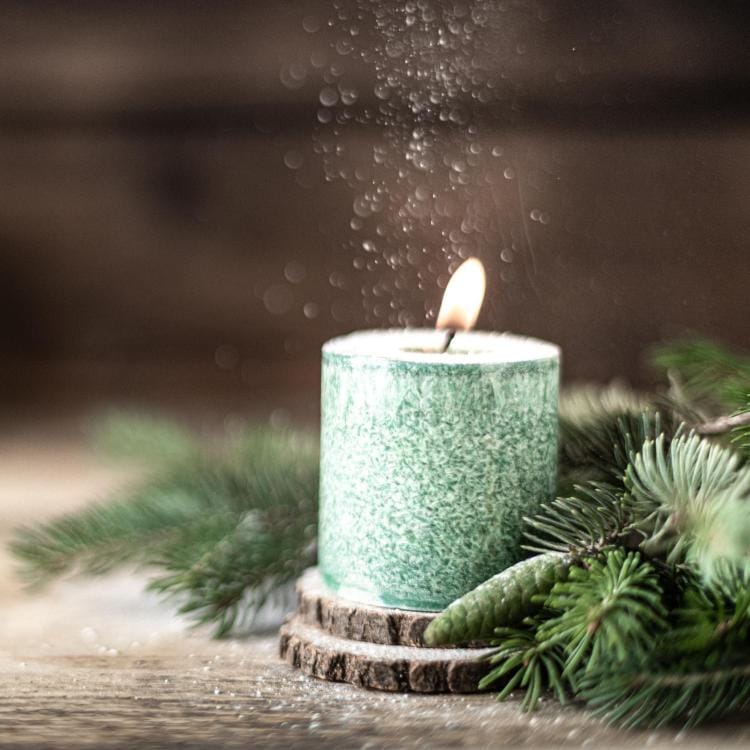
- Magical Visual Appeal: The way candlelight glows through the frosty, translucent ice is captivating. It casts a soft, warm light that creates an instantly cozy and relaxing ambiance on cold winter nights.
- Simple & Accessible Materials: You don’t need any specialized supplies. With basic household items like water, a container to act as a mold, and a candle, you can create something beautiful.
- Endless Customization: This is where you can get truly creative. Freeze natural elements like pinecones, berries, or evergreen sprigs into the ice for a rustic, festive look.
- Eco-Friendly and Budget-Friendly: Made from water, these candle holders are a zero-waste, environmentally friendly alternative to store-bought decor. They are a perfect example of how to create a big impact on a tiny budget.
Gathering Your Simple Materials
Creating your own ice lanterns is a fun and easy DIY project. Here’s what you’ll need:
- Molds: You need two containers, one smaller than the other, to create the lantern’s wall. Plastic food containers, buckets, or even old milk cartons work perfectly.
- Water: Regular tap water is fine. For clearer ice, use distilled water or boil your tap water first to reduce air bubbles.
- Candles: Tea lights or small votive candles are the most popular choices. For a worry-free option, especially indoors, battery-operated [LED tea lights] are a fantastic and safe alternative.
- Natural Decor (Optional): This is your chance to personalize. Think cranberries, pinecones, orange slices, cinnamon sticks, or small evergreen sprigs.
- Tape and a Weight: You’ll need tape to suspend the inner container and a small rock or weight to hold it down.
- Freezer Space: Ensure you have a level spot in your freezer that’s big enough for your mold.

Step 1: Prepare Your Molds
Select your larger outer container and your smaller inner container. The space between the two will form the walls of your ice lantern.
Step 2: Add Optional Decorations
Arrange your decorative elements like cranberries, pinecones, or evergreen sprigs at the bottom of the larger container. This will be the top of your finished lantern.
Step 3: Assemble the Mold
Place the smaller container inside the larger one. To keep it from floating up, place a small rock or other weight inside it. Then, fill the space between the two containers with water. Leave about an inch of space at the top to allow for expansion as the water freezes.
Step 4: Center and Secure the Inner Mold
Use a few pieces of tape across the top of the containers to ensure the inner mold stays perfectly centered. This will create even walls for your lantern.
Step 5: Freeze Your Lantern
Carefully place the entire setup in your freezer on a level surface. Let it freeze solid for several hours or overnight, depending on the size.
Step 6: Demold Your Creation
Once frozen, remove the setup from the freezer. Let it sit at room temperature for a few minutes. First, remove the inner container (you can pour a little warm water inside to help loosen it). Then, run warm water over the outside of the larger container until the ice lantern slides out.
Step 7: Light It Up and Enjoy the Glow!
Place a tea light or LED candle inside your finished ice candle holder. For outdoor use, place it on your porch, along a walkway, or in your garden. The icy glow looks especially magical surrounded by snow. If using indoors, be sure to place it on a waterproof dish or tray to catch the melting water.
For more stunning winter decorating ideas, you can find endless inspiration on platforms like [Pinterest].
Overcoming Common Challenges
- Cracking Ice: This often happens if the water freezes too quickly. To prevent this, try not to set your freezer to its absolute coldest setting. If cracks appear, they often add to the rustic charm!
- Cloudy Ice: Air bubbles in tap water cause cloudiness. For crystal-clear ice, use distilled water or boil tap water and let it cool before pouring it into your mold.
- Melting Too Fast: This is part of their ephemeral beauty. To prolong their life, use them outdoors in freezing temperatures. Indoors, place them away from heat sources. For a fun scientific explanation of why ice melts, check out this simple guide from the [National Snow and Ice Data Center].
In conclusion, ice candle holders are a stunning, practical, and fun-to-make craft. Their ability to create a cozy atmosphere, their budget-friendly nature, and the countless customization possibilities make them a must-try for any DIY enthusiast this winter.
FAQs Section
How to make candles that look like ice?
To create candles that resemble ice, use ice molds and fill them with colored water or place decorative elements before freezing.
Can you use ice molds for candle making?
Yes, ice molds can be used to create unique candle holders. Ensure they are sturdy enough to hold the weight of the candle.
How do you make ice luminaries?
Ice luminaries are made similarly to ice candle holders. Fill a mold with water, freeze it, and then insert a candle once removed from the mold.
How long do ice lanterns last?
Ice lanterns can last several hours, depending on the temperature and placement. In colder conditions, they may last longer.
How is candle ice formed?
Candle ice is formed when water freezes in a mold, creating a solid structure that can hold a candle.
Does ice remove candle wax?
Ice can help remove candle wax from surfaces by hardening the wax, making it easier to scrape off.


1 thought on “How to Make Stunning Ice Candle Holders for Winter Decor”