Epoxy Resin for Beginners: Your Journey into a World of Glistening Creativity
Diving into the world of epoxy resin for beginners can feel both exciting and a little intimidating. You’ve seen the mesmerizing videos of glossy, glass-like finishes and vibrant swirls of color, and you’re ready to create your own. The great news? It’s one of the most rewarding and accessible crafts you can learn, and this guide is your perfect starting point.
We’ll break down everything you need to know, from choosing the best epoxy resin kit for beginners to your first flawless pour. Forget the confusion; let’s walk through this epoxy resin for beginners step by step and turn your creative ideas into stunning reality.
First Things First: Is Epoxy Resin Good for Beginners?
Yes, absolutely! The reason epoxy resin art for beginners is so popular is its forgiving nature. Modern epoxy resin kits for beginners are often formulated with a simple 1:1 mixing ratio and a longer “work time,” giving you plenty of time to mix, color, and pour without feeling rushed. With the right setup and safety precautions, anyone can achieve beautiful results on their first try.
Choosing Your Tools: What is the Best Epoxy Resin for Beginners?
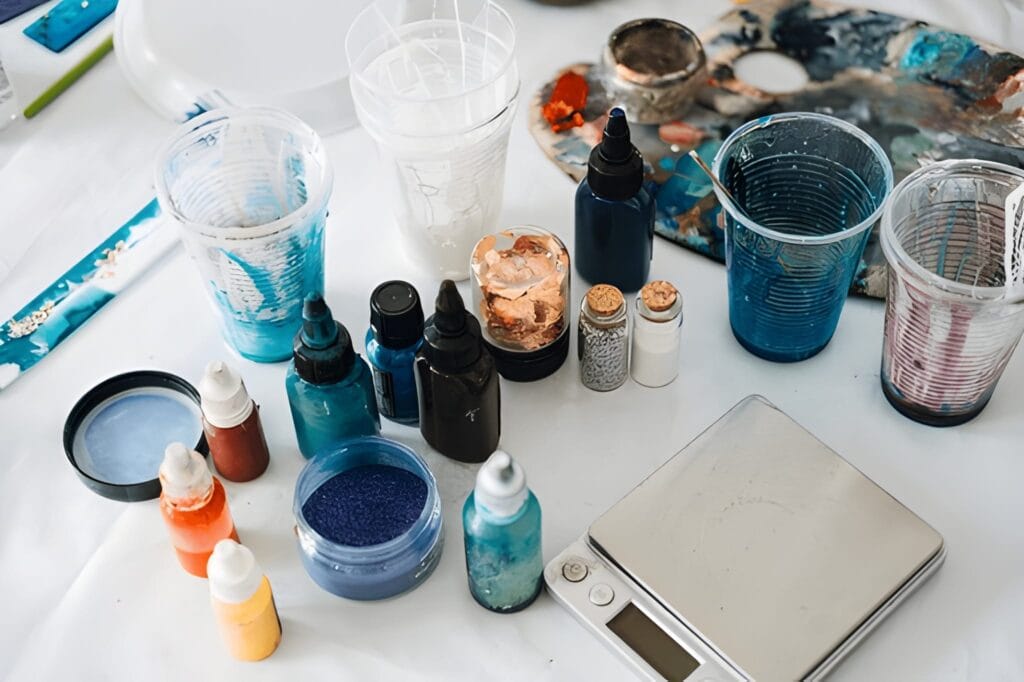
Your first project’s success starts with the right materials. For a truly hassle-free start, we recommend an [all-in-one epoxy resin kit from Amazon] that includes the resin, hardener, mixing cups, stir sticks, and even some basic colorants.
Here’s what to look for in the best epoxy resin for beginners:
- A 1:1 Mixing Ratio: This is the easiest to measure, minimizing the chance of sticky, uncured resin.
- Low VOCs and Low Odor: Crucial for working more safely indoors (with proper ventilation).
- UV Resistance: Helps prevent your beautiful creations from yellowing over time due to sun exposure.
Your essential toolkit should also include nitrile gloves, safety glasses, mixing cups, stir sticks, and a plastic sheet to protect your workspace.
How to Use Epoxy Resin for Beginners: The 5 Core Steps
Here is the fundamental process broken down into simple, manageable steps.
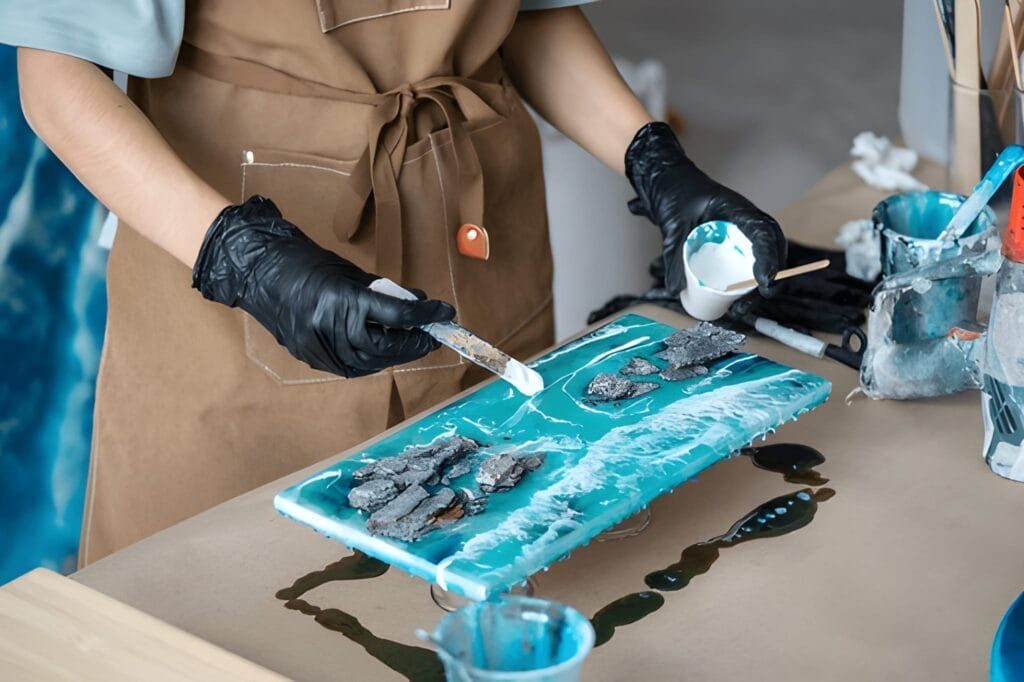
Step 1: Prepare Your Workspace (Safety First!)
Before you even open your resin, set up in a well-ventilated area. Cover your surface with a plastic sheet. Put on your nitrile gloves and safety glasses. Resin is a chemical, and safety is non-negotiable. For a deep dive into safety protocols, the [American Medical Association’s Health & Safety resources] provide excellent general guidance on working with craft chemicals.
Step 2: Measure with Precision
Following your kit’s instructions, pour equal amounts of Part A (resin) and Part B (hardener) into a mixing cup. Precision here is key to a proper cure.
Step 3: Mix Slowly and Thoroughly
This is the most critical step. Stir the two parts together slowly for 3-5 minutes. Scrape the sides and bottom of the cup as you mix to ensure every last bit is incorporated. Mixing too fast will introduce excess bubbles.
Step 4: Add Color and Pour
Once mixed, it’s time for the magic. Pour the clear resin into smaller cups and add your pigments mica powders for shimmer or liquid dyes for vibrant color. Mix each color in, then pour it into your silicone mold or onto your surface.
Step 5: Banish Bubbles and Let It Cure
After pouring, you’ll see small bubbles rise. Gently sweep a heat gun or a long-reach lighter a few inches over the surface. The heat will pop the bubbles instantly. Now, cover your piece to protect it from dust and let it cure on a level surface for 24-72 hours.
3 Easy Epoxy Resin Projects for Beginners
Ready for some inspiration? Here are three perfect epoxy resin ideas for beginners to get you started.
- Stunning Coasters: Using epoxy resin for moulds is the easiest starting point. You can get a great variety of [silicone coaster molds on Amazon] to experiment with different shapes and color combinations.
- Personalized Keychains: Small letter or shape molds allow you to create custom keychains with glitter, dried flowers, or photos embedded inside. They make fantastic handmade gifts.
- Wood and Resin Accents: Learning how to use epoxy resin on wood for beginners is a great next step. Start small by filling the grain of a unique piece of wood or creating a small decorative tray.
What Not to Do: Common Mistakes for Beginners to Avoid
- Don’t Guess Your Measurements: Always use measuring cups. Inaccurate ratios are the #1 cause of sticky, uncured resin.
- Don’t Mix for Only One Minute: Under-mixing is the second biggest culprit. Be patient and mix thoroughly.
- Don’t Work in a Cold Room: Resin loves warmth (around 70-75°F / 21-24°C). Cold temperatures can make it cloudy and prevent it from curing properly.
- Don’t Add Too Much Colorant: A general rule is to not let your colorant exceed 10% of the total volume of your resin, as it can interfere with the curing process.
Frequently Asked Questions (FAQ)
How to use epoxy resin for beginners step by step?
Setup: Work in a ventilated area with a protected surface, wearing gloves and glasses. 2. Measure: Pour equal parts of resin (A) and hardener (B). 3. Mix: Stir slowly and thoroughly for 3-5 minutes, scraping the sides. 4. Pour: Add color and pour into your mold. 5. Finish: Pop bubbles with a heat gun and let it cure for 24-72 hours.
Is epoxy resin good for beginners?
Yes, it is excellent for beginners. Modern art resins with a 1:1 mix ratio and a longer work time are specifically designed to be user-friendly, allowing plenty of time for creative expression without stress.
How to mix epoxy for beginners?
Pour equal amounts of Part A and Part B into a cup. Using a stir stick, mix slowly but deliberately for a full 3-5 minutes. Make sure to scrape the sides and bottom of the cup multiple times to ensure the two parts are completely blended.
How to pour resin for beginners?
For beginners, the easiest way to pour is directly into a silicone mold. Pour slowly from a single spot to minimize bubbles. You can also try a “dirty pour” by pouring all your mixed colors into one cup (without stirring) and then pouring that onto your surface for a marbled effect.
What not to do with resin for beginners?
Avoid these common mistakes: don’t guess your measurements, don’t mix too quickly or for too short a time, don’t work in a cold or humid environment, and don’t add too much liquid colorant, as it can prevent the resin from curing properly.


2 thoughts on “How to Use Epoxy Resin for Beginners: A Flawless Guide”