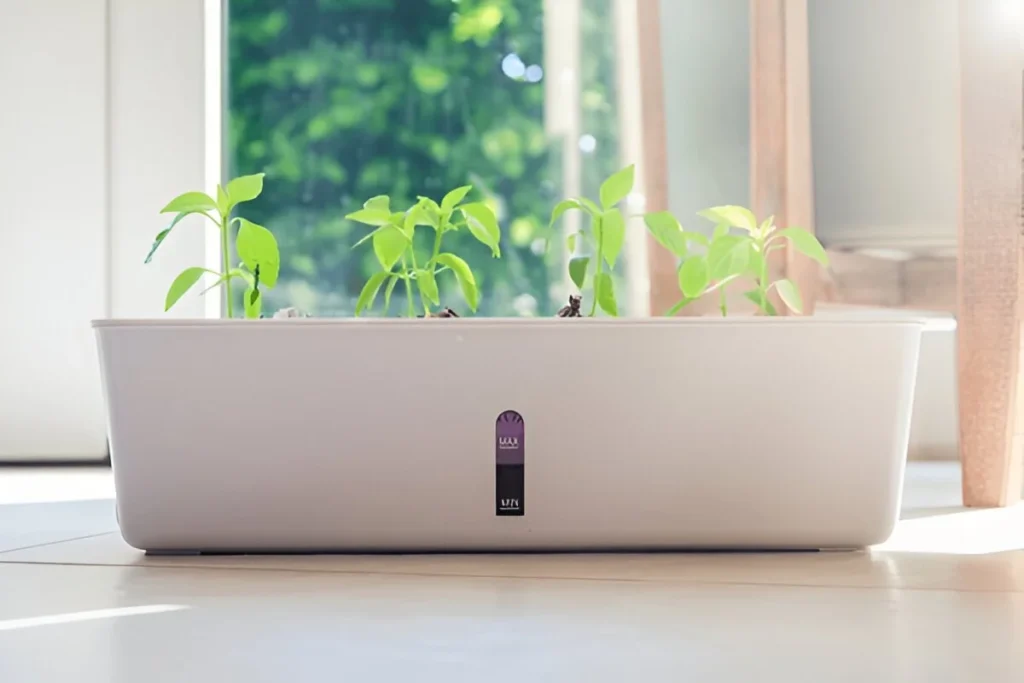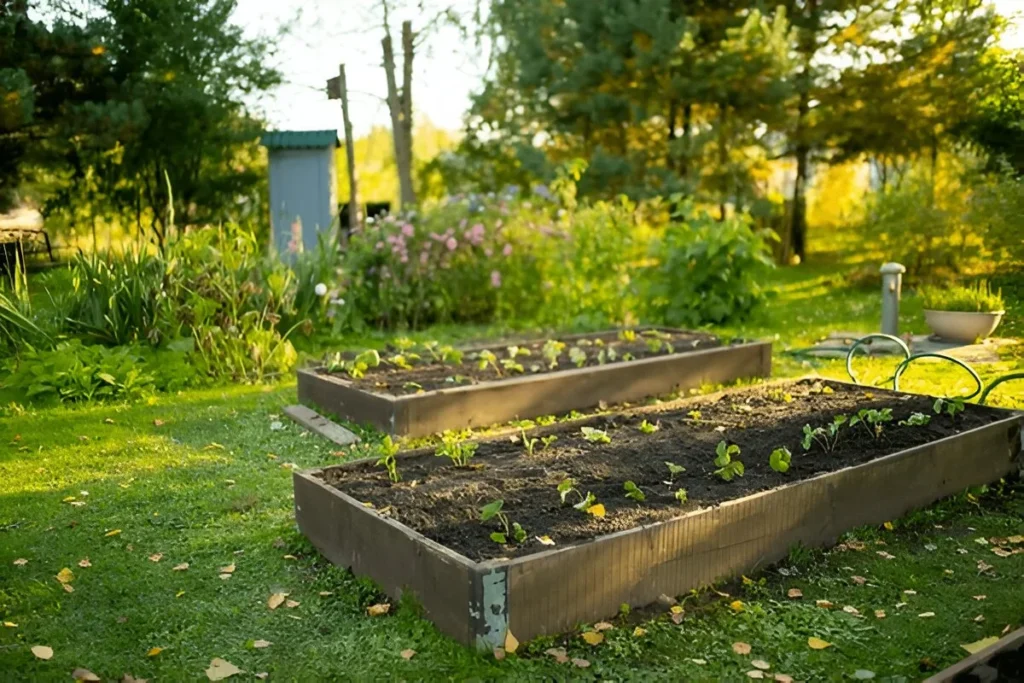
Self watering planters DIY are an ideal solution for gardeners seeking simplicity. While gardening is a rewarding hobby, it often comes with challenges, especially when it comes to regular watering. If you’re tired of the daily grind, self watering planters could transform your gardening experience. This guide will explore the essential aspects of self-watering planters, including how to create your own raised garden bed and self-watering plant pots. Ready to get started?
What Are Self Watering Planters DIY?
Self-watering planters are innovative gardening solutions designed to keep plants hydrated for extended periods. These planters have a reservoir at the bottom, allowing plants to absorb water through capillary action. This means less frequent watering for you and healthier plants!
Benefits of Self Watering Planters DIY
Reduced Watering Frequency
One of the most significant benefits of self-watering planters is that they reduce the need for constant watering. This is especially helpful for busy individuals or those who travel frequently.
Consistent Moisture Levels
Self-watering pots maintain a more consistent moisture level, preventing the soil from drying out too quickly. This is crucial for plants that require steady hydration.
Less Risk of Overwatering
With traditional pots, it’s easy to overwater plants. Self watering planters help mitigate this risk by providing only the necessary water.
How to Make Self-Watering Containers
Creating your self-watering containers is easier than you might think! Here’s a step-by-step guide on how to make a self-watering pot.
Materials Needed
- A plastic container (with a lid)
- A smaller pot that fits inside the larger one
- Potting soil
- A water source (like a bottle)
- A drill or knife
Step-by-Step Instructions
- Drill Drainage Holes: Start by drilling holes in the bottom of the smaller pot. This allows the water to seep into the soil.
- Prepare the Larger Container: Take the larger container and cut a hole in the lid. This will serve as the water reservoir.
- Insert the Smaller Pot: Place the smaller pot inside the larger one, ensuring it sits above the water reservoir.
- Fill with Soil: Add potting soil to the smaller pot, leaving enough space for your plants.
- Water the Soil: Before planting, water the soil thoroughly to help it settle.
- Add Your Plants: Now, it’s time to plant your flowers or vegetables!
- Fill the Reservoir: Pour water into the reservoir through the hole in the lid, ensuring the soil stays moist.
DIY Self Watering Raised Garden Bed

If you have more space and want to create a more extensive garden, consider building a DIY self watering raised garden bed. This project is functional and can enhance your backyard’s aesthetic.
Materials Needed
- Wooden boards (cedar or redwood are best)
- Landscape fabric
- Drill and screws
- Watering system (like PVC pipe)
- Soil and plants
Step-by-Step Instructions
- Build the Frame: Cut the wooden boards to your desired dimensions and assemble them into a rectangular frame.
- Add Landscape Fabric: Line the inside of the frame with landscape fabric to prevent soil from washing away.
- Create a Water Reservoir: At one end of the bed, dig a trench and place PVC pipes to create a watering system leading to the bottom.
- Fill with Soil: Add a mix of potting soil and compost to the raised bed.
- Plant Your Seeds: Choose your plants based on the sunlight and space available.
- Water System: Fill the reservoir with water, and it will gradually seep into the soil.
Self Watering Pots DIY: Tips and Tricks
Creating your own watering pots DIY can be a fun project. Here are some tips to ensure success:
- Choose the Right Size: Ensure your pots are appropriately sized for the plants you want to grow.
- Use Quality Soil: Invest in good potting soil that retains moisture.
- Monitor Water Levels: Check the reservoir regularly to ensure it has enough water.
- Plant Wisely: Not all plants need the same amount of water; choose plants that thrive in self-watering conditions.
FAQs About Self Watering Planters
How often should I refill my self-watering planter?
Typically, you should check the water level every week. However, this can vary based on the plant type and weather conditions.
Can I use any container for self-watering pots?
You can, but it’s best to use containers made of non-toxic materials with good drainage.
What plants are best for self-watering containers?
Herbs, tomatoes, and other moisture-loving plants thrive well in self-watering systems.
Do self-watering pots need drainage holes?
No, self-watering pots do not require drainage holes because they are designed to hold water in a reservoir at the bottom.
Can I convert regular pots into self-watering pots?
Yes! As explained above, you can easily convert regular pots by adding a reservoir system.
Conclusion
Creating self-watering planters DIY is an excellent way to simplify your gardening routine while ensuring your plants thrive. Whether you make a self-watering pot or a raised garden bed, these projects are both easy and rewarding. You can enjoy a flourishing garden that requires less maintenance with suitable materials and a little effort. So roll up your sleeves, gather your supplies, and start your gardening adventure today!


1 thought on “Self Watering Planters DIY: Create Your Garden Oasis”