Don’t Let Your Money Escape Out the Window
Did you know that up to 30% of a home’s heat is lost through windows? If you live in an older house or an apartment with single-pane glass, you are essentially throwing money out the window every time the furnace turns on.
Replacing windows costs thousands. But you don’t need a renovation crew to fix the problem. With a free weekend and less than $50 in supplies, you can winterize windows DIY style to seal leaks, trap heat, and make your home significantly cozier. Here is the step-by-step battle plan against the cold.
Step 1: Find the Invisible Leaks (The Diagnosis)
You can’t fix what you can’t see. Drafts are often invisible.
- The Candle Test: Carefully move a lit candle around the window frame. If the flame flickers, you have a leak.
- The Pro Method: If you are serious about energy efficiency, use a VEVOR Thermal Imaging Camera.
- Why? It shows you exactly where the cold spots are (in blue) on a screen. It’s an investment, but it identifies insulation gaps in walls and doors too, potentially saving you hundreds in heating bills over time.
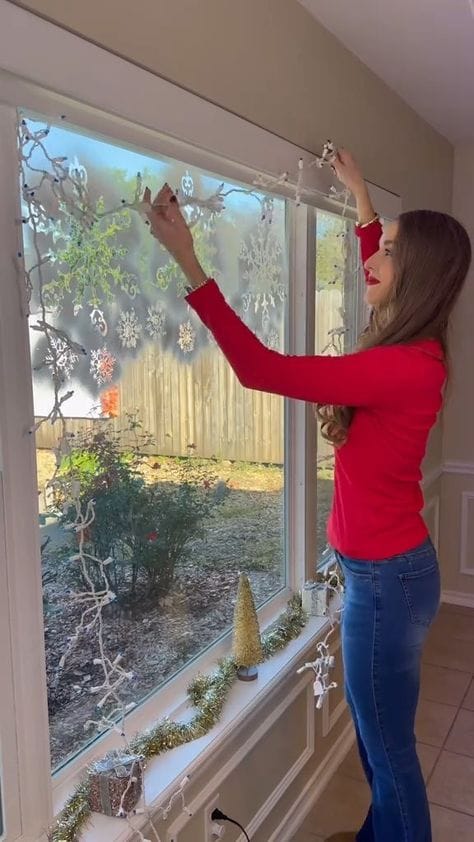
Step 2: The “Shrink Wrap” Solution (Window Film)
It looks ugly during installation, but it becomes invisible once done. This creates a pocket of dead air that acts as a second pane of glass.
- The Material: A standard Window Insulation Kit .
- The Process:
- Clean the frame with rubbing alcohol.
- Apply the double-sided tape.
- Stick the plastic sheet loosely.
- The Secret: Shrink it tight.
- Tool Tip: A hair dryer works, but it takes forever. A VEVOR Heat Gun on a low setting shrinks the plastic instantly and evenly for a crystal-clear, wrinkle-free finish.
Step 3: Re-Caulk the Cracks (The Seal)
If the wind is coming through the frame (not just the glass), you need a physical barrier.
- Check: Look for old, cracking caulk outside or inside.
- The Fix: Scrape it out and apply fresh Paintable Silicone Caulk.
- Why: It stops air infiltration immediately. It’s the cheapest, most effective repair you can do.
Step 4: The “Thermal Blanket” (Textiles)
Glass is cold. Even sealed glass radiates cold into the room. You need layers.
- The Upgrade: Heavy Thermal Curtains.
- The Hack: Keep them open during the day to let free solar heat in (Greenhouse Effect). Close them immediately at sunset to trap that heat inside.
- Atmosphere: To counter the gloom of closed curtains, upgrade your lighting to Lumary Smart Bulbs. Setting them to a warm 3000K creates a psychological feeling of warmth that complements your physical insulation.
Step 5: The Draft Stopper (The Snake)
Sometimes the leak is at the bottom sash where the window closes.
- The DIY: Sew a simple fabric tube (or use a long sock) and fill it with rice or dry beans.
- Placement: Lay it on the windowsill against the crack. It physically blocks the wind and adds a cute, rustic touch to the decor.
PRO TIP: Don’t Forget the Lock
This is the most overlooked step in winterize windows DIY projects.
Lock your windows.
- Why? The locking mechanism on most windows pulls the sashes together tightly. If your window is unlocked, there is often a tiny gap between the seals. Locking it compresses the weatherstripping and stops drafts instantly.
FAQ: Keeping the Heat In
Q: Does bubble wrap work on windows?
A: Yes, it is an excellent insulator (the bubbles trap air). Spray water on the glass and stick the bubble wrap (bubble side toward glass). It looks terrible, but for a basement or attic window, it is highly effective.
Q: Can I open my windows after applying film?
A: No. The shrink film seals the entire opening. Only apply it to windows you plan to keep closed until Spring.
Q: What is the cheapest way to insulate a window?
A: Water + Bubble Wrap costs pennies. For a better look, Window Film is the most cost-effective standard solution.


1 thought on “Winterize Windows DIY: Stop Drafts Fast”